
Pack Smart: Essentials for Backpacking Trip
This page contains affiliate links. If you make a purchase via a link on this page, we make a small commission at absolutely no extra charge to you. Thank you for your support of this small women-led business.
Essentials for Backpacking Trip: A Complete Checklist
Preparing for a Colorado backpacking trip can be daunting—especially if you're a beginner. With possible torrential rain, snow, flies, and wind to consider, it's crucial to pack smart. Knowing what to take on a backpacking trip (and what to leave behind) is crucial to a great time (and a healthy back!)
Let’s pack smart with these essentials for backpacking trip, plus check out our 10 best tips to make any backpacking trip great!
We’ve organized what to pack on a backpacking trip by category, make it easy to stay on track. We even offer a FREE downloadable backpack checklist to help you prep with confidence.
Enjoying a Colorado backpacking trip in the Maroon Bells
Download, Print, Check, Repeat!
CoHH TIP! Our backpack checklist isn’t just for Colorado—this anywhere, anytime list keeps you organized no matter where your adventure takes you.
Pro Tip: Slip you backpack checklist into a ziplock bag for a waterproof, go-anywhere packing tool.
We’ve made all the mistakes so you don’t have to.
On the Four Pass Loop, my daughter and I overpacked food big time—we spent the entire hike happily handing out snacks to fellow hikers, desperate to ditch some weight.
Lesson learned! Knowing what to pack on a backpacking trip would have saved us some money and extra carrying pounds.
From our backpack checklist to our detailed guide on what to take on a backpacking trip, we’ve got everything you need to take the stress out of packing for your next adventure!
The Ultimate Backpack Checklist for Colorado Hiking
Clothing
Down jacket *lightweight
Fleece jacket *optional for cold/wet trips
Light gloves or wool liners and beanie *pending season and altitude/elevation
Long-sleeve shirt (sun/bugs)
Short-sleeve shirt
1-2 pairs underwear
2-4 pairs*wool
1-2 pairs for camp/sleeping only
Base layer bottoms *leggings or cargo pants for hiking
Base layer top *optional (for hiking)
Sunglasses
Bandana or Buff
Small pack towel
Trail running shoes or boots
Personal Toiletries
Sunscreen
BIFF (Bathroom in Forest Floor) bag
TP/sealable bag
digging trowel *found in hardware or garden supply store
hand sanitizer
WAG bag *if not bringing BIFF bag
Menstrual supplies/ziplock to carry out
Toothbrush + paste
Prescription Rx
OTC meds + vitamins *optional/as needed
Contact lenses + supplies/glasses
Lotion
Eye Drops *optional but great for dry climates
Hair ties *optional
Pee rag *optional
Ear plugs *option
Tools & Accessories
Pocket knife or multi-tool
Phone *keep on low power + airplane mode
Bear Spray
Camera and extra battery *optional
Headlamp *bring spare batteries
Cash, ID + Credit Card + Insurance Card
Hydration
1 water bottle *2-4 bottles if not bringing a hydration pouch
Hydration Pouch *2-3 Liter
Water treatment *water filter, UV purifier, etc
OR
Water treatment *drops, tablets
Pack in CAr
Parking pass for car *as needed
Clean clothes + shoes to change post trip
Phone charger
Water + snacks (Chocolate melts)
Optional Equipment for Snow & Icy Trips
Camp Kitchen
Stove & Fuel *if you want hot food
Small lighter/waterproof matches
Cup *lightweight
Small quick dry towel or bandana
Biodegradable soap *optional
Navigation Equipment
Waterproof map/ziplock
Compass *optional
Watch *optional
GPS phone app with maps downloaded
Satellite Messenger/Garmin inReach *optional
Download driving directions for offline use
Check current weather before trip
Call ranger station pre-trip for trail conditions + regulations (water, bugs, snow, road, etc)
2 itineraries: 1 left w/friend + 1 under car seat
Backpacking permits *as needed
Emergency Kit
Duct/Tenacious Tape (for repairs) *I wrap my hiking poles with duct tape—easy to carry and always handy for quick fixes on the trail.
Sleeping pad patch kit *optional
Stormproof matches + small fire starters
Small backup lighter
Backup water treatment pills (Chlorine Dioxide) *Carry 2-3 tabs in small ziplock bag.
Bandages of various sizes
Mole-skin + KT tape
Gauze pads
Medical Tape
Antihistamines
Pain meds *Tylenol, Ibuprofen
Tweezers
Antidiarrheal
Antibiotic ointment
Food
Provisions - aim for 2,000-3,5000 calories a day (meals)
Extra day’s supply of food (for emergencies)
50’ nylon cord + small carabiner for bear bag hanging and clothesline
Electrolytes/energy gels/calorie dense snacks such as jerky, trail mix, dried fruit
Premade Meal kits *optional but super handy on trail
Top 10 Tips | Essentials for Backpacking Trip
First-time backpacking doesn’t have to be stressful. Anyone brave enough to give it a go gets a round of applause from us! Backpacking trails lead to magical spots in the woods, offering quiet moments to channel your inner John Muir and truly “lose your mind and find your soul.”
Top Ten Colorado Backpacking Tips
I created these tips after my first backpacking experience on Colorado's Four Pass Loop, but I’ve used them over and over for longer treks and international expeditions. Whether you're hitting a local trail or an international adventure, these tips cover all the necessities for backpacking to keep you covered!.
For a complete rundown on backpacking Maroon Bells Four Pass Loop, check out our detailed post here. We share how to plan and hike this stunning three or four day Colorado hike.
If you're looking for another incredible backpacking experience, consider hiking to Conundrum Hot Springs near Aspen. Designed for outdoor enthusiasts seeking a true backcountry escape, this trek leads you to soothing hot springs at over 11,000 feet, surrounded by panoramic views of towering peaks.

Four Pass Loop Maroon Bells Backpacking
Tip 1: Ask the Questions
How many days will my first time backpacking hike be?
How far ahead should I start preparing?
How far can I hike each day?
What’s the weather going to be like?
What is required for the backpacking hike? Bear Can required?
What gear should I rent vs buy or borrow?
Who has done this hike before? What did they bring?
Spend some time researching the backpacking gear checklists of fellow hikers who’ve done the trail. Read hiking trail reviews, particularly if this is your first time backpacking in Colorado.
Overpacking AND underpacking have consequences
Too little gear can make for a terrible experience. Snow in August is common in Colorado’s high country. August often brings monsoon rainstorms accompanied by thunder and lightning. Getting caught without a dry layer or rain jacket could result in hypothermia.
Too much gear can cause physical ailments, bum knees and fatigue.
Be like Goldilocks - find your sweet spot well BEFORE the hike.
Download the ultimate backpack checklist for Colorado hiking, marking off what you have, need and want.

Tip 2 | Get a Backpack
Ideally you’ll want a 50-80 liter pack. Unless you’re a minimalist, first time backpacking involves some hit or miss items.
It’s okay to leave some gear at home but don’t be stupid light.
Ultralight is below 10 lbs. Stupid light is when you fail to bring something important to save weight.
REI rents great packs for first time backpacking. Renting a backpack is an affordable way (usually under $100) to test what feels comfortable, fits your body well, and holds all your essentials.
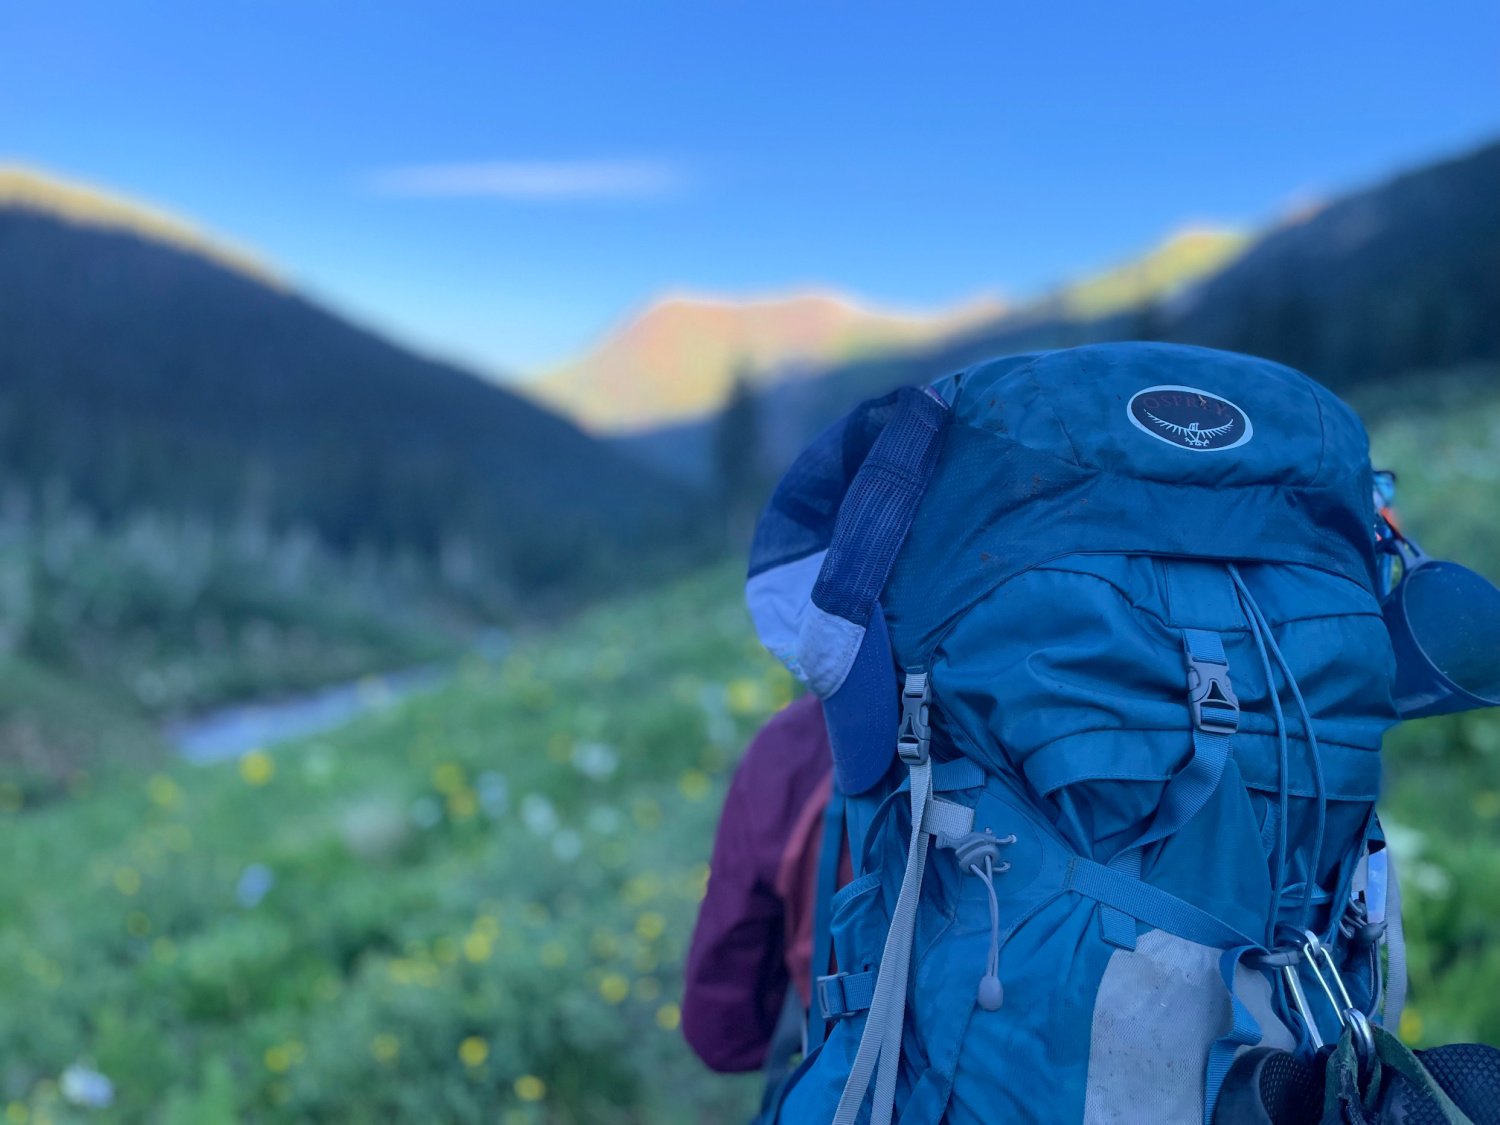
Osprey backpacks stand out for their excellent airflow, supportive hip and chest belts, and plenty of pockets for gear storage. Their Packfinder tool can help you find the perfect fit!
The best advice I got when choosing a backpack? Research and try.
With so many options, shop at a store with a solid return policy. If a pack doesn’t work for you, return it and try again. A good backpack is an investment—take the time to find the right one for your body.
Water buckets made backpacking on Mt Kilimanjaro downright refreshing.
Tip 3 | Print (and Read) Backpack Checklist
I’m a “show me, don’t just tell me” kind of planner. Before I started backpacking, I spent a lot of time asking others what gear they liked and used.
Below is a list of my favorite necessities for backpacking for beginners.
Each of the pieces I list are items I use EVERY SINGLE backpacking trip.
Any hike requires research. For my trip to Peru and Ecuador, I spent copious hours research trail conditions and weather along with local resources in case I forget something.
KNOW BEFORE YOU GO!
Favorite backpacking pillow on the Lares Trek in Peru.
CoHH Essentials for Backpacking Trip
Trekology pillow
Kuhl hiking pants *convertible
Eye mask
Dirty Girl Gaiters *under $25/pair
Black Diamond carbon trekking poles *cork handle
Salomon gore tex hiking shoes *low top
Kavu fanny pack
When backpacking, a good night's sleep is crucial for energy and endurance on the trail. Choosing the right sleeping bag is essential for a comfortable and restful night's sleep.
Tip 4 | Organize Gear Before Packing
Outdoor kitchen items for wilderness backpacking
Lay out all your items before packing your backpack to get a clear idea of what to pack on a backpacking trip. Consider using a wet bag or waterproof compression sacks for clothes to keep everything dry.
Organize your gear according to the categories listed in our ultimate backpack checklist.
Divide gear among your hiking group, keeping everyone’s weight around the same if possible.
When I head on backpacking trips, we make sure our packs did not weigh over 30 lbs/each.
Ziploc bags or Stasher bags (Melody’s new favorite eco friendly on the trail storage) work great for keeping things organized in your pack. Seeing everything laid out, including food and gear helps you know what is necessary vs luxury items.
For meal prep, consider what types of meals you want. Prepackaged dehydrated meals are super easy to prepare for your first time backpacking. While a bit pricey, the ability to get calorie dense, great tasting food with a “just add water” component is super nice.
Carabiners are great ways to carry cups, camp shoes and water filters outside your backpack.
PRO TIP! Keep your power bank and water filters inside your sleeping bag. These items are fickle when it comes to cold weather. I sleep with them in the bottom of my sleeping bag.
Keep layers handy for sudden weather changes
Tip 5 | Know How to Pack Your Backpack
Packing Your Backpack the Right Way
A well-packed backpack keeps you balanced, comfortable, and ready for the trail. Here’s a simple breakdown:
Bottom of the Pack (Heaviest Items & Camp Gear)
Place bulky, campsite-only items like your sleeping bag, camp stove, and towel at the bottom. These don’t need to be accessed while hiking.
Middle of the Pack (Mid-Weight Items & Balance Zone)
Store your extra clothing, food, and insulation layers in the middle section. This keeps the weight evenly distributed and prevents strain on your back.
Top & Outer Pockets (Light & Quick-Grab Essentials)
Keep water, snacks, sunscreen, maps, and rain gear at the top or in external pockets for easy access.
Packing smart means carrying weight efficiently—giving your shoulders and back a break while making sure the right gear is within reach. Want a great visual guide? Check out this great graphic for a clear breakdown.
example of sleep/hydration basics for beginners backpacking
Wrap your sleeping bag and quilt in a trash bag or waterproof stuff sack. Keeping this dry will help keep you warm on the trail.
PRO NOTE! Bear cans are heavy and bulky. Be judicious with how much food you bring, knowing you’ll be carrying it all on your back including trash created during the hike. Ursacks are easier to manage in backpacks, less bulky and allowed on many Colorado backpacking trails.
Keep your rain jacket, hats/gloves and extra layer easily accessible. Pack in a large garbage bag or waterproof sack to ensure they stay dry when sudden rain hits.
Items such as water bottles/hydration pouch and water filters need to be in close reach.
Rule of thumb: When you find water, fill up, keeping your reservoirs full to avoid extreme thirst.
Colorado backpacking bathroom in the woods ‘how to’
Tip 6 | Keep Your BIFF Bag Handy
If you’ve never used the BIFF - bathroom in forest floor (yes, we mean pooping in the woods), you’ll need to get familiarized with Leave No Trace Principle 3 - Dispose of Waste Properly.
ESSENTIALS FOR BACKPACKING TRIP BATHROOM GEAR: small lightweight shovel, toilet paper, hand sanitizer, bag for used toilet paper and/or WAG bag
Find your bathroom spot 200 feet from trail and water (about 70 steps).
Dig a cathole at least 6-8 inches deep and 4-6 inches in diameter.
After doing your business, cover hole completely and place used TP in bag to pack out.
WAG BAGS: Think dog poop bags for humans. Do your business in the bag, fold up and pack out.
Use PACT TABS—these nifty tablets quickly neutralize the nastiness in human waste, breaking down toxicity in no time!
Osprey backpacks are perfect for stashing the essentials.
Tip 7 | Keep Backpacking Essentials Close *Snacks, Sunscreen and Lip Balm
Some packs have a detachable fanny pack to place a cellphone, snacks and lip balm in. If your pack does not, consider bringing a fanny pack to wear. Or make sure your backpack has ample room in hip belt pockets to stash these necessities for backpacking.
Once you take off your backpack, especially after hiking several miles, you’l find it hard to put it back on.
Keeping snacks and water handy allows you mini breaks throughout your wilderness trips or backpacking in Colorado.
Grabbing a shot of energy on Four Pass Loop Colorado backpacking trip
Favorite Snacks *Necessities for Backpacking
Calorie dense, easy to carry jerky sticks, dried fruit and nuts
Protein bars in variety of flavors
Cliff Blok shot *margarita flavor is one of our favorites
Honey mustard pretzel sticks and salt and vinegar almonds
Gummies *the candy variety
Water flavoring packets *NUUN, lemonade powder
Trekking poles are high on the list of what to pack for a backpacking trip.
Tip 8: Use Trekking Poles
My eldest daughter was not convinced she needed trekking poles. Until she put on her backpack and started climbing some steep hills. *On overseas backpacking trips, I always rent a pair of trekking poles. They are that important to my climb!
benefits to using trekking poles backpacking in Colorado
Protect knees, especially on downhills
Improve posture
Reduce fatigue and increase endurance
Keep the “fat finger” syndrome at bay *Gives your arms something to do vs. hang by your side, hands getting puffy.
Test depth of water which comes in handy for river crossings
PRO TIP! For water crossings - Make sure to unclip your hip and chest straps when crossing any moving water. If you go down, it’s better to say good-bye to your pack vs. be swept under because it’s still attached to your back.
Yoga Stretch Session on Trail
Tip 9 | Stretch on the Trail
You’ll be sore, no matter how much you train. Take advantage of the fresh mountain air and freedom from electronics and screens to move your body.
Find yoga in nature. Look for a relatively flat patch of earth, preferably in view of the spectacular nature you just hiked to see. Remove your pack, grab some water.
Start with breathing. Breath in and out, arms lifting overhead, stretching out shoulders and neck.
Follow with basic body stretches allowing you to release tension from a day of hauling a large pack on your back. Think soft and gentle movement, giving your body a chance to unwind from the day’s journey.
End your nature yoga session with legs up tree, allowing the blood to circulate and keep swelling down. Backpacking for beginners can be hard on the body. Give it some TLC (tender loving care).
Tip 10 | Train Your Body and Mind
Knowing what to pack on a backpacking trip is important. But training for the trip is key for completing the trip!

This weighted vest is perfect for neighborhood walks and gym workouts when you don’t want to lug around your big pack.
For all the backpacking hikes I’ve done, my backpacking physical training began 6 months prior to the hike. Winter in Colorado is cold and icy. On especially miserable days, the stair climber with a weighted pack was essential for backpacking preparation.
*I love using my 15 lb. weighted vest at the gym and on trails all winter long.
Train in the shoes and socks you plan to backpack in. Wear your backpack or at least carry the weight you plan to bring on several hikes prior to your first time backpacking.
For my Kilimanjaro summit hike (5 days), I spent a fair amount of time at altitude, hiking several 12,000’ mountains for altitude preparation. For Peru and Ecuador climbing, I spent about 90 minutes/day weight training with a side of cardio.
There are so many online plans for how to train for backpacking from start to finish. Training for your first backpacking trip doesn’t have to be hard.
At the end of the day, no practice training will compare to the actual hike. However, your mind and body can be ready to push through if you train.
Sunrise on Mt. Kilimanjaro
Essentials for Backpacking Trip | Don’t Forget!
Safety first!
Bring a first aid kit.
Carry moleskin and KT tape for blisters.
Carry bear spray.
Don’t leave the layers behind.
Tell someone where you’ll be and when you expect to be back.
Check the weather.
For more essential hiking tips, head to our top tips for hiking alone. These work great for groups who are backpacking in Colorado as well as taking day hikes.

