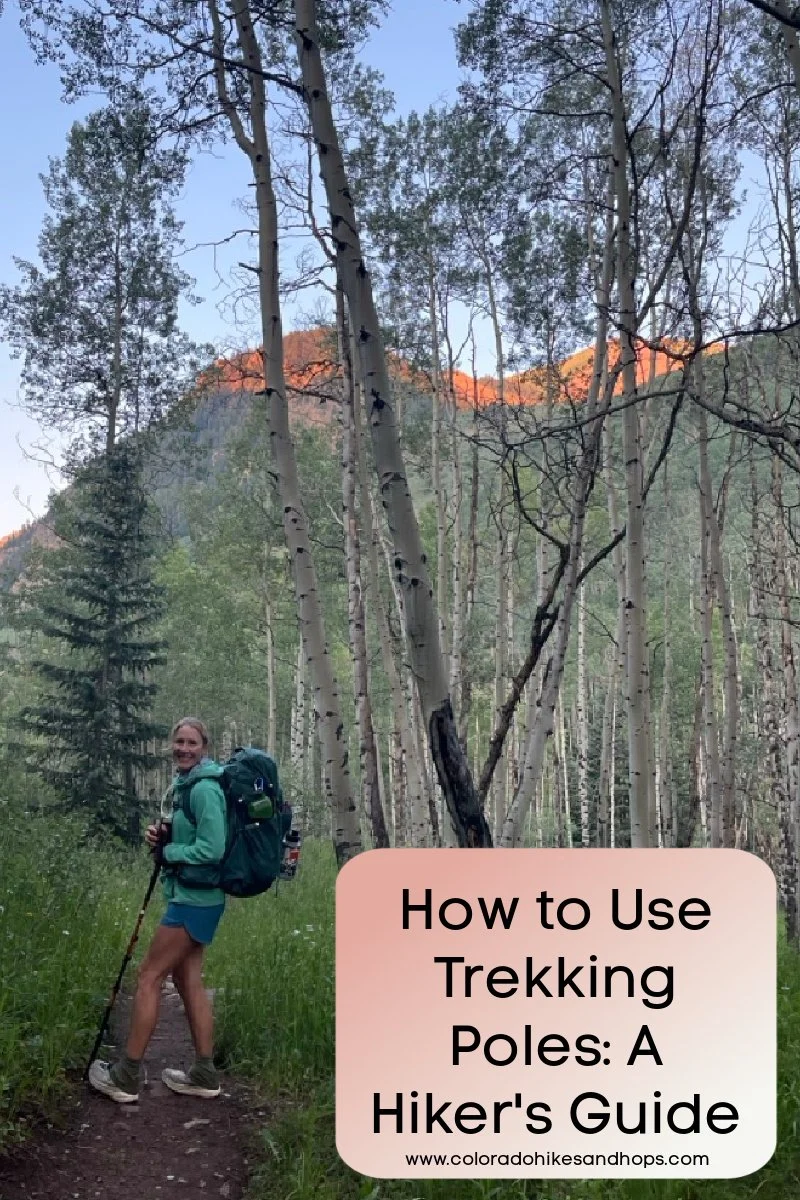
How to Use Trekking Poles: A Colorado Hiker’s Guide (2026)
This page contains affiliate links. If you make a purchase via a link on this page, we make a small commission at absolutely no extra charge to you. Thank you for your support of this small women-led business.
How to Use Trekking Poles
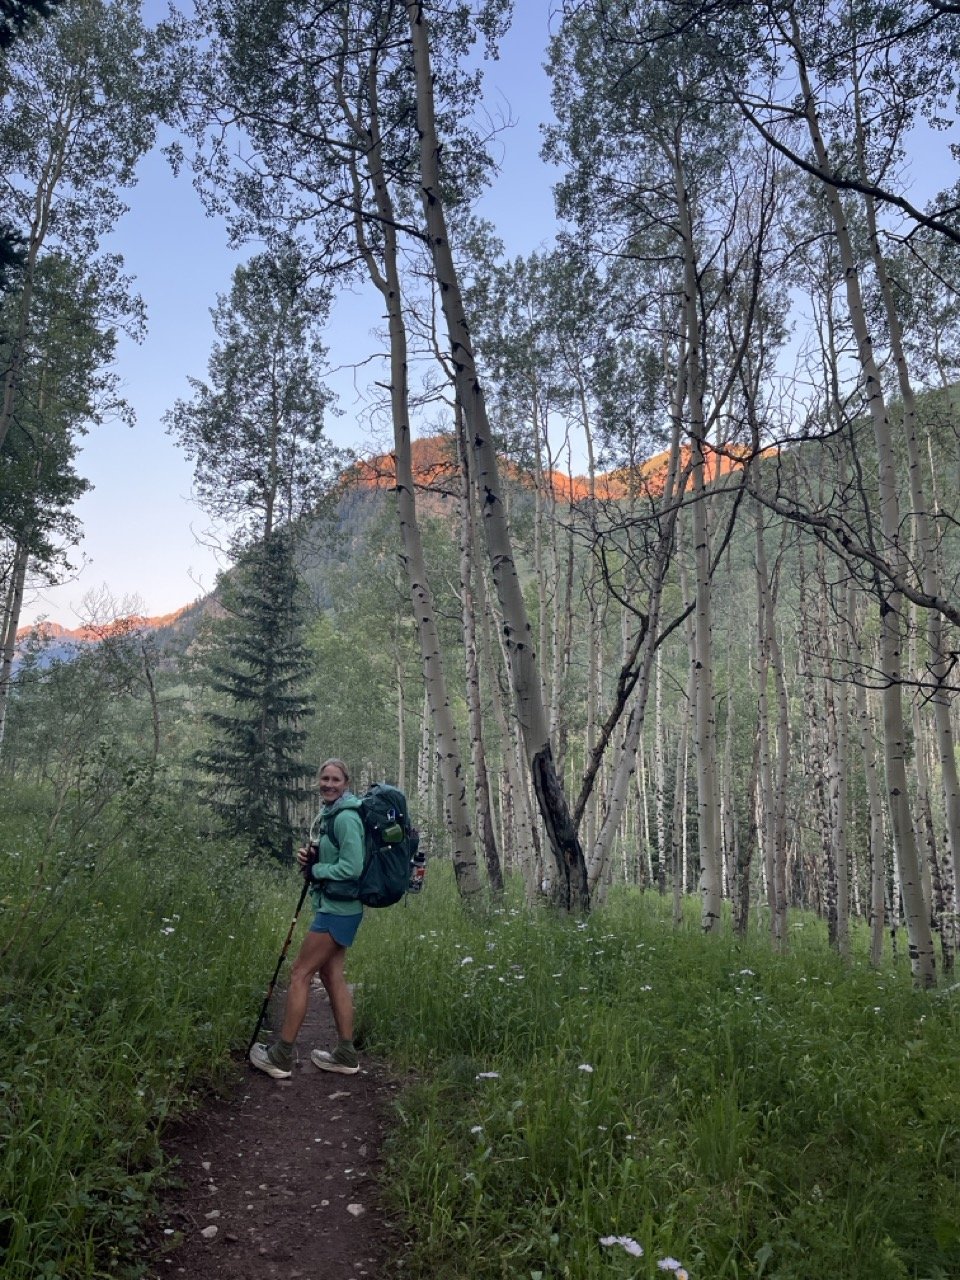
I spend a lot of hours on the trail. Not a casual loop and home for lunch. Long days. Big mileage. I have walked segments of the Colorado Trail with a full pack on my back, and taken on long miles to remote hot springs. On days like that, trekking poles are not an accessory. They are part of how the walking gets done.
So when people ask me how to use trekking poles, I do not start with the gear.
I start with what they actually do for you out there.
Used well, poles let you go farther and stay out longer. Used wrong, they are just two sticks slapping at your ankles.
Here is everything I have learned about using them right.
I will be honest about where I started. In my twenties I judged the hikers with poles. I thought they were for people who could not handle the trail on their own two legs.
I was wrong, and not in a small way. The poles were never the weakness. They were the reason those hikers were still moving well, mile after mile, long after the rest of us were nursing our knees at the trailhead.

Why Use Trekking Poles at All
The case for poles is simple. They take load off your lower body and spread it across your arms and shoulders.
Research backs this up. Using poles can reduce the compressive force on your knees by up to twenty five percent.. On a long descent with a loaded pack, that is the difference between finishing strong and limping the last two miles.
There is an endurance piece too. Poles bring your upper body into the work, so the effort gets shared instead of pounded into the same joints all day. On the Colorado Trail, with the extra pack weight, that sharing is what keeps me going when the day stretches long.
A few more things they do, quietly, all the time:
Steady you on uneven ground and loose rock.
Give you two extra points of contact on water crossings.
Save you on the descents, where most knee pain actually happens.
Double as tent poles for many ultralight shelters, if you backpack.
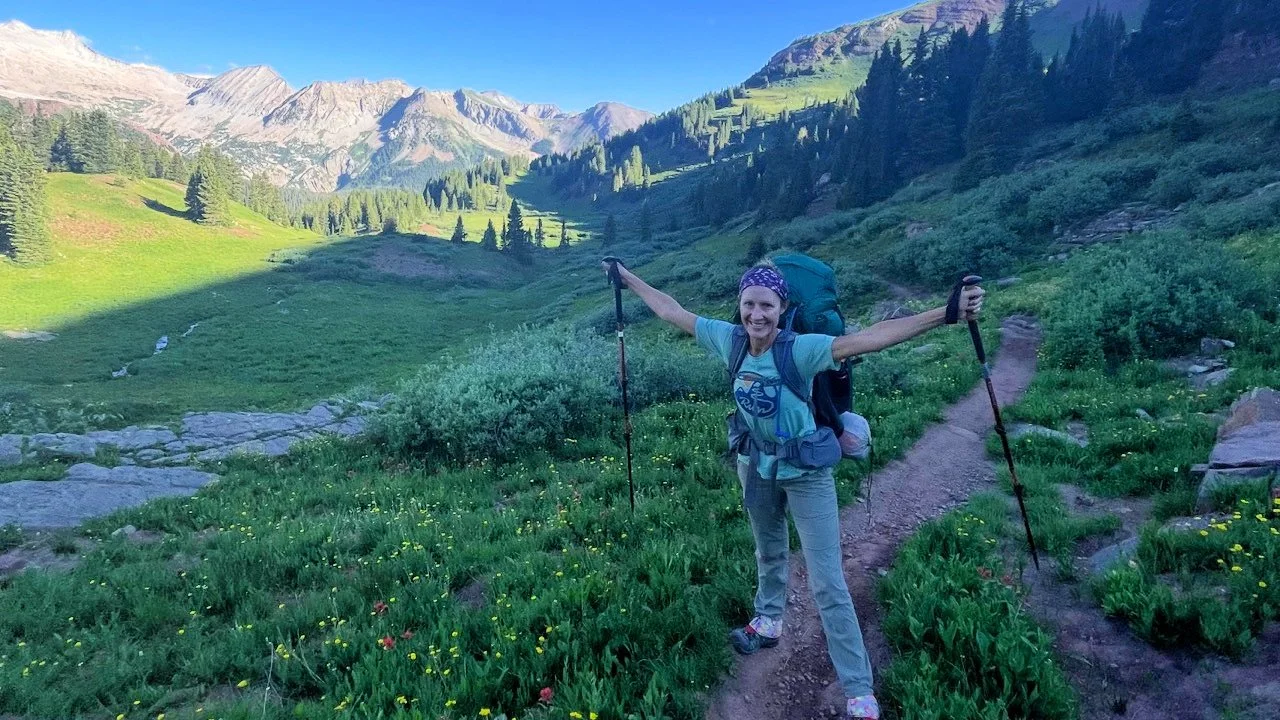
I used poles on every segment of the Four Pass Loop, Conundrum and Zirkel Circle. They all have the kind of terrain where a third and fourth point of contact matter. I would not want to do any of these hikes without them.
How to Size Trekking Poles
Get the height right and everything else gets easier. Get it wrong and you will fight your poles all day.
Here is the method:
Stand on flat ground.
Hold the poles with the tips on the ground beside your feet.
Adjust the length until your elbows sit at a 90-degree angle.
That is the baseline. Your forearms should be roughly parallel to the ground when you grip the handles.
Most decent poles are adjustable, which matters more than people think. You will want to shorten them a little on long climbs and lengthen them a little on long descents. More on that below. If you hike a lot of steep Colorado terrain, adjustability is not optional in my opinion.
A note on women's poles, because the question comes up.
The real difference is not the gender label. It is grip diameter and length. Women's poles usually have a thinner grip for smaller hands and a shorter range, which also makes them pack down smaller. If you have smaller hands, the thinner grip is genuinely more comfortable over a long day, no matter what the marketing calls it.
How to Use the Straps (Most People Get This Wrong)
This is the one almost everyone does backward, and it is the single biggest fix I can give you.
Do not just grab the handle with the strap dangling. The strap is load-bearing. Used right, it lets your hand relax and transfers your weight into the pole through your wrist instead of your grip.
Here is how:
Bring your hand up through the bottom of the strap loop.
Then bring your hand down onto the grip, so the strap runs under your palm.
Hold the grip loosely. Let the strap take the weight on the push.
Once you feel it, you will not go back. Your hands stop cramping. You stop white-knuckling the handles. On a long day this is the difference between sore, swollen hands after the hike and hands that feel fine.
If your hands swell on the trail anyway, loosen the straps a touch and keep your grip light. The poles do the work. You just guide them.
How to Use Trekking Poles Uphill
On climbs, shorten your poles slightly. A few centimeters is enough. Shorter poles keep your hands from riding up too high and let you plant in front of you for leverage.
Plant the pole and push down and back as you step up. You are giving yourself a little assist on every stride, pulling some of the climb into your arms. On a long grind, that adds up.
Keep the rhythm natural. Opposite hand to opposite foot, the same way you already swing your arms when you walk. Do not overthink it. Your body knows the pattern.
How to Use Trekking Poles Downhill
This is where poles earn their keep. It is also where knees get wrecked.
Lengthen your poles slightly for the descent. Longer poles let you reach down to the lower ground without hunching forward.
Plant the poles ahead of you and let them carry some of your weight as you step down. You are braking with your arms so your knees do not have to absorb the full impact. On a steep, loaded descent off a high pass, I can feel the difference within minutes.
Take it in control. Short steps. Poles leading. Let them be the brakes.
I lean on this most coming down the fourteeners. The descent is the part that beats you up, and the poles are why I can do another one the next weekend.
Poles on Colorado Terrain: Scree, Snow and Water
Our trails ask specific things of your poles. A few notes from years out here.
Scree and loose rock
This is where the extra points of contact save you. Plant deliberately, test before you commit your weight, and let the poles catch you when a rock shifts. On loose talus, poles are the reason you stay upright instead of sliding.
Snow and spring conditions
Switch to your poles' snow baskets if you have them. The wider basket keeps the pole from punching straight through soft snow. Worth carrying into late spring up high, when the trails are still holding drifts.
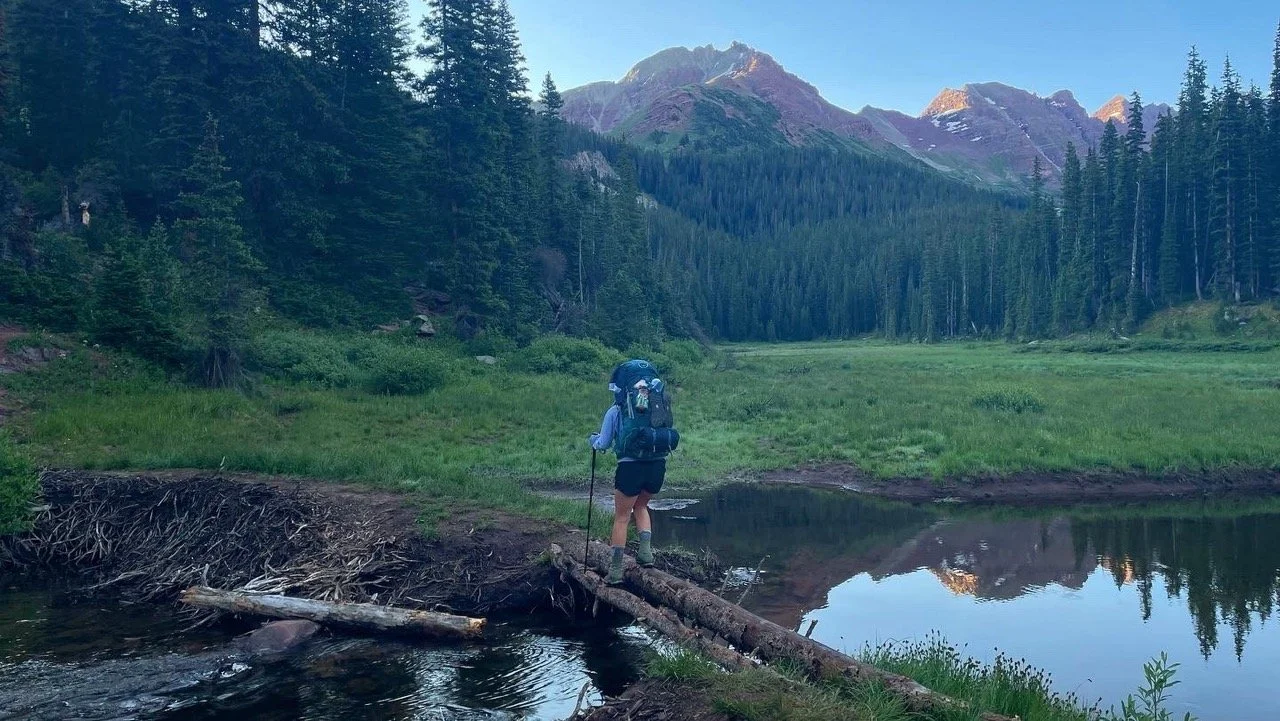
Water crossings
Two poles, planted upstream, give you a stable tripod against the current. Face slightly upstream, plant, then move one point of contact at a time. I have crossed plenty of cold, pushy creeks this way without a slip.
Tips for the surface
Use the rubber tips on rock and pavement for grip and quiet. Pull them off for the carbide points on dirt, snow, and ice, where you want the bite.
Our Favorite Trekking Poles
Now that you know how to use them, here is what Tanya and I actually hike with. We only recommend gear we use and love.
Black Diamond Trail Ergo Cork (Melody's pick)
The Black Diamond Trail Ergo Cork are my workhorses. The adjustable length is what sold me. I can shorten them for the climb and lengthen them for the descent without fuss.
The cork grips are the other reason. Cork softens over time and molds to your hands, and it stays comfortable on the long days when sweat would make foam or rubber slick.
At around 18 ounces, they are light enough to forget you are carrying them.
They collapse a little long for packing, which is my only gripe, and a small one.

Black Diamond Carbon FLZ (Tanya's pick)
Tanya hikes with the Black Diamond Carbon FLZ. These fold down Z-pole style to a compact length, which makes them easy to stash in or on a daypack when you hit a stretch you do not need them.
At about 12 ounces, the carbon construction is noticeably lighter in the hand.
Carbon costs more, but for the weight savings and packability, she swears by them.
Try before you commit
Not sure you are ready to buy? REI rents Black Diamond Poles for around $20 a day. Take a pair out on a real trail before you decide. And thrift stores and used gear shops turn up solid used poles more often than you would think. That is how I got my first decent pair.
A Short Buying Guide
A few things to weigh when you choose, without going down a rabbit hole.
Material
Aluminum is durable and affordable and shrugs off abuse, but it weighs a little more. Carbon fiber is lighter and absorbs more shock, but it costs more and can be less forgiving of a hard sideways pinch between rocks. Either one will serve you well. Pick based on your budget and how much weight matters to you.
Adjustable vs. folding
Adjustable telescoping poles let you fine-tune length for climbs and descents. Folding Z-poles pack smaller and deploy fast. I prefer adjustable for the terrain control. Tanya prefers folding for packability. Both are right.
Grips
Cork molds to your hand and handles sweat best. Foam is soft and light. Rubber is fine for cold weather but can get slick when your hands sweat. Cork is my pick for long days.
Price
Solid poles run from about $30 to $50 at the budget end, $150 to $180 in the dependable mid-range where most good options live, and $200 and up for premium carbon. Reputable brands to look at: Black Diamond, LEKI, and Mountainsmith.
You do not need fancy poles to start. You need the right height, the straps used correctly, and a willingness to let them do their job.
Get those three things down and you will wonder how you ever hiked without them.
I have a lot of trail left in me. The poles are part of why.
See you out there.